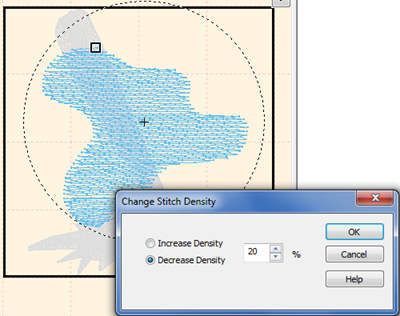
There are several reasons why you might need to change the stitch density of an embroidery design. For example, you might be stitching a design onto a different weight fabric than what the design was digitized for or you may need to adjust the density of a design that was previously shrunk or stretched (without stitch recalculation). BuzzSize adjusts stitch density while preserving the original fill pattern making it a perfect choice for density adjustments!
If you have just opened an embroidery design into BuzzSize, you don't need to worry about selecting anything before adjusting the entire designs density. Otherwise, use the Escape key to clear any previous selections.
 Use the
Density button on the top toolbar or the BuzzTools > Change Stitch Density command
to open the dialog and make your adjustments.


Using the Stitches-in-Time pane, double click on the Stitch Color bar located at the top of the graphs to select a color.
 Now
when you use the
Density button on the top toolbar or the BuzzTools > Change Stitch Density command
to make your adjustments, only the density of the selected color is changed.
When you have both BuzzSize and BuzzEdit activated on the same computer, you can use BuzzSize to change the density of any selection. Use the Lasso tool or the Stitches-in-Time graphs to select your stitches.
TIP: For more information on how to select stitches in the Toolkit, use Help > Contents and navigate to the topic Toolkit Features > Selecting What to Edit
 When you use the
Density button on the top toolbar or the BuzzTools > Change Stitch Density command
to make your adjustments, only the density of the selected stitches are changed.

The design used in this example is from the Father's Day free embroidery design collection.